À la différence d’un ciment verre ionomère, EMBRACE Ciment est une résine hydrophile conçue pour être travaillée dans un environnement humide. La résine forme naturellement des liaisons chimiques avec la dentine, l’émail, les métaux, la céramique, les composites, CEREC, les tenons en fibres, l’or et aussi les inlays. L’utilisation de mordançage et d’adhésif n’est pas requise sur la dentine mais indiquée sur l’émail. La rétention de EMBRACE Ciment sur la céramique zircone, testée indépendamment, a montré une valeur de 29,32kg.
Clinical Procedure
Post Cementation and Core Build Up

Fig. 1: The tooth is prepared to receive a post.
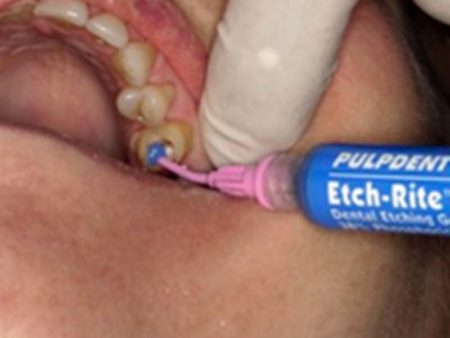
Fig. 2: The canal and tooth surfaces are etched for 15 seconds.
This step is optional. Embrace WetBond Resin Cement is self-etching to dentin.
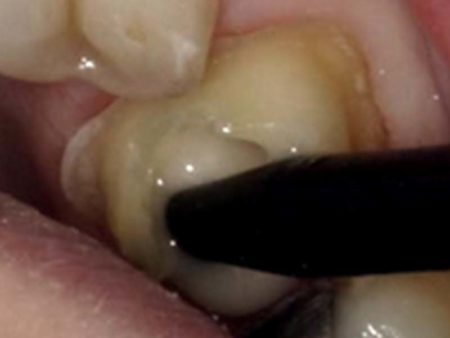
Fig. 3: Embrace Resin Cement is dispensed directly into the canal using
the mixing tip on the double-barrel syringe.
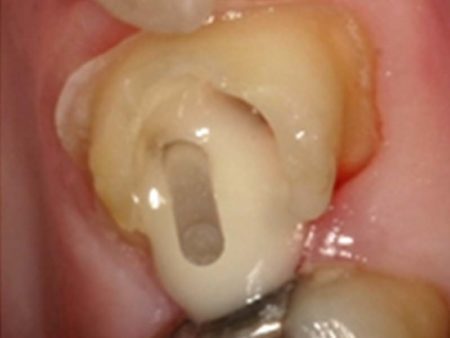
Fig. 4: The post is inserted using an up and down motion to ensure complete coverage.
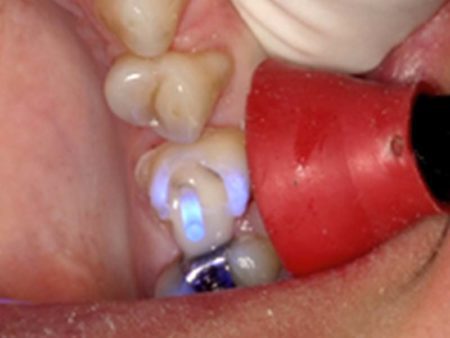
Fig. 5: Embrace Resin Cement is light cured for 20 seconds from all aspects.
Embrace is used tor the core build up and is light cured in increments.
The cement is also self-curing
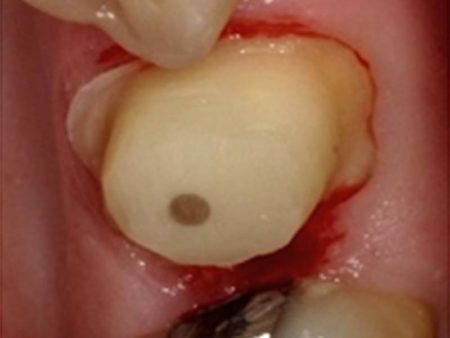
Fig. 6: The core is carved to shape to receive a crown. Embrace WetBond
Resin Cement is also used to cement the crown ensuring a homogenous monoblock.
Crown Cementation
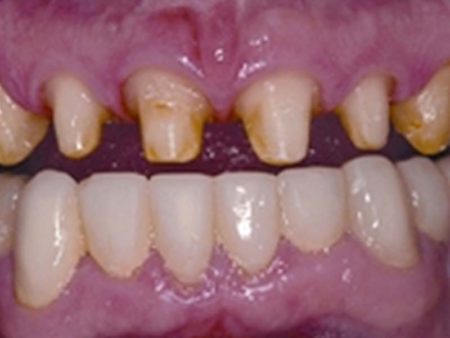
Fig. 1: The teeth are prepared to receive crowns. It is not necessary to etch dentin, and
bonding agents are not required; however, etching and bonding are not contra-indicated.
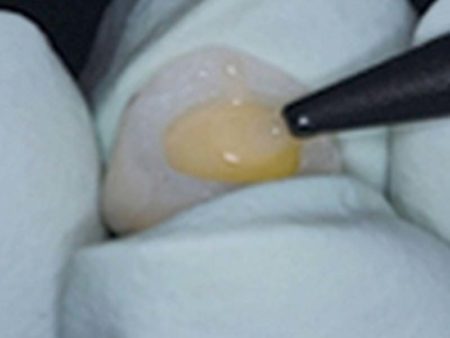
Fig. 2: Embrace WetBond Resin Cement is dispensed into the crowns using a mixing
tip on the double-barrel syringe.

Fig. 3: After seating crowns, tack light cure for 1-2 seconds and remove
excess cement with a suitable instrument.
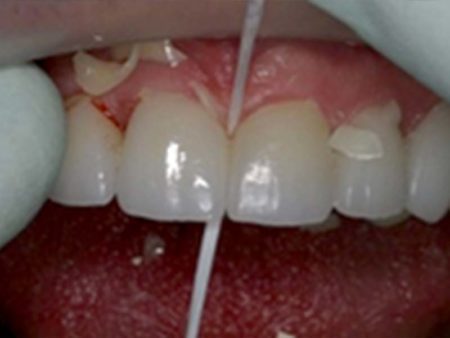
Fig. 4: Floss to make sure contacts are open before complete curing.
Crown Cementation on Composite Core Build Up
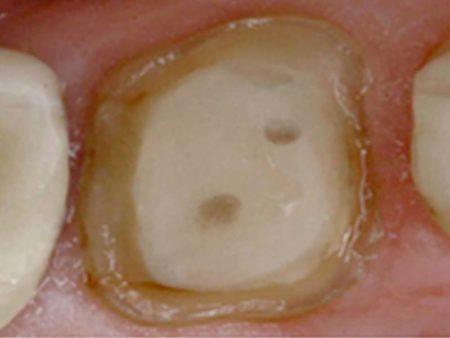
Fig. 1: The post and core build up has been prepared and dried and is ready for crown cementation.
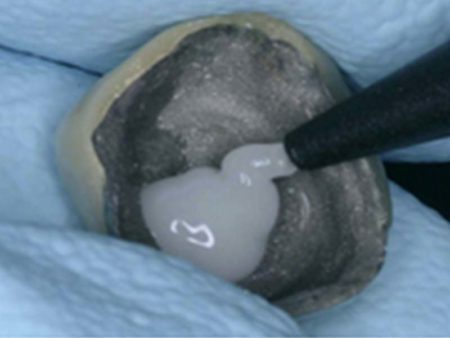
Fig. 2: Embrace Resin Cement is dis- pensed directly into the crown through the automix tip.
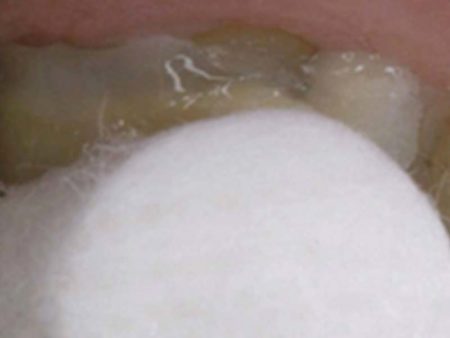
Fig. 3: After seating the crown, apply positive pressure for 2½ minutes.
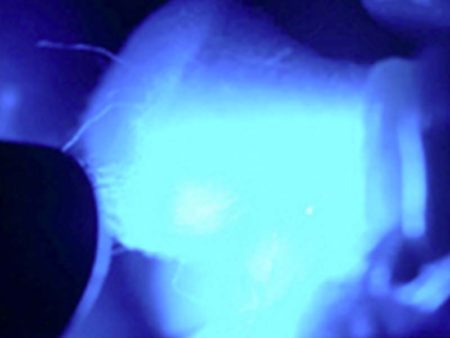
Fig. 4: Flash cure excess cement at the margins for 1-2 seconds to facilitate removal.
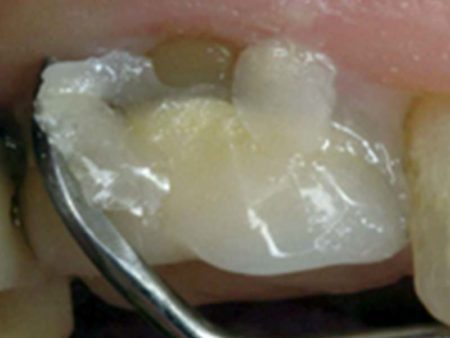
Fig. 5: Remove excess cement at the margin with a suitable instrument.
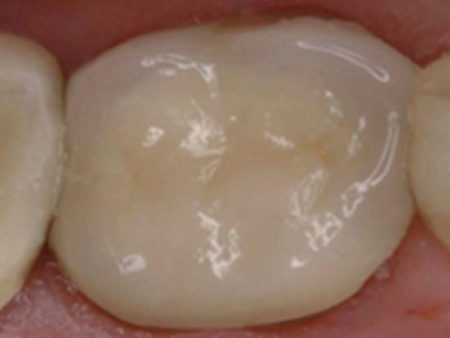
Fig. 6: The final result.
Photography courtesy of Dr. George Freedman


